Keep Your Pool Water Safe
Water Balancing
One of the most important steps of swimming pool maintenance is water balance. Generally, understanding water balance pool water can also be one of the most confusing processes of pool maintenance. Because of its complexity, some new pool owners may not know everything they have to do to keep their pool water safe, comfortable and corrosion free.
Below are a few of the reasons why having a balanced swimming pool is so important:
Safety – If you are using either a salt based pool producing chlorine or a chlorine based tablet pool, then your pH needs to be correct. If pool water is not balanced correctly then the chlorine sanitizer won’t be working at full strength killing germs and bacteria.
Comfortable – Your water balance needs to be correct or it will affect your skin and eyes. The pH should be neither too acidic nor basic in order to feel comfortable.
Corrosion – An imbalanced pool can be corrosive to the liner, ladders and hand rail and other equipment such as the pump, and especially the heater core.
Visit our contact page today to get started!
What is entailed in water balance?
Total Alkalinity – Total alkalinity refers to how much alkaline is in the water. TA and pH go hand-in-hand. High alkaline water leads to high pH. Low alkaline water leads to low pH. The average swimming pool should have an alkalinity reading of 100 ppm.
Swimming Pool Water pH Levels – Keeping your pH levels within the proper range is important for keeping your equipment and pool finish intact. pH refers to the acidity or baseness of your pool water. A proper pH level is around 7.4 to 7.6 on a pH test kit’s numeric scale. 0 to 7 reflects a low or acidic pH. 8 to 14 means the pool has a base pH level. Your chlorine will dissolve quicker with a low pH level. High pH levels make chlorine inactive.
Calcium Hardness – The right amount of calcium in your pool is essential. If there is too little, your plaster can erode. Too much calcium can make your water could become cloudy, scale could form and stains might start. 200 to 400 ppm is the general range for calcium hardness, while 300 ppm is ideal for the average pool.
Stabilizer – Stabilizer helps retain your chlorine longer just as insulation helps retain heat or air conditioning. Stabilizer can be added to some chlorine compounds to protect them from the breakdown effects of sunlight. When your stabilizer level is low, you’ll use a lot more chlorine. When it’s high, you may need to dilute your pool water to bring it back into the 40 to 100 ppm ideal range.
Total Dissolved Solids – All water contains dissolved minerals. As pool water evaporates, minerals remain behind and become concentrated. The more concentrated these minerals become, the harder it is for chemical additives to work and stains can form. If you have 3000 ppm or more of total dissolved solids or TDS, you may need to drain some water and add fresh water.


Give Your Pool A Long Life
Pool Water Testing
Test the water in your pool two to three times a week. Do this to ensure an optimum swim environment and a long life for your pool. For the best sample of water, collect from the deep end of the pool – collecting at least eight ounces of water. You can collect the water in a sample bottle or any clean, plastic container.
Water testing ranges
- pH: 7.2 - 7.6
- Total Alkalinity: 120-150 parts per million
- Calcium Hardness: 200-250 parts per million (concrete pools)
- Calcium Hardness: 175-225 parts per million (vinyl pools)
- Free Chlorine: 1-3 parts per million
- Free Bromine: 3-5 parts per million
- Metals (copper): 0 parts per million
- Metals (iron): 0 parts per million
Care For Your Filter
Pool Filter Maintenance
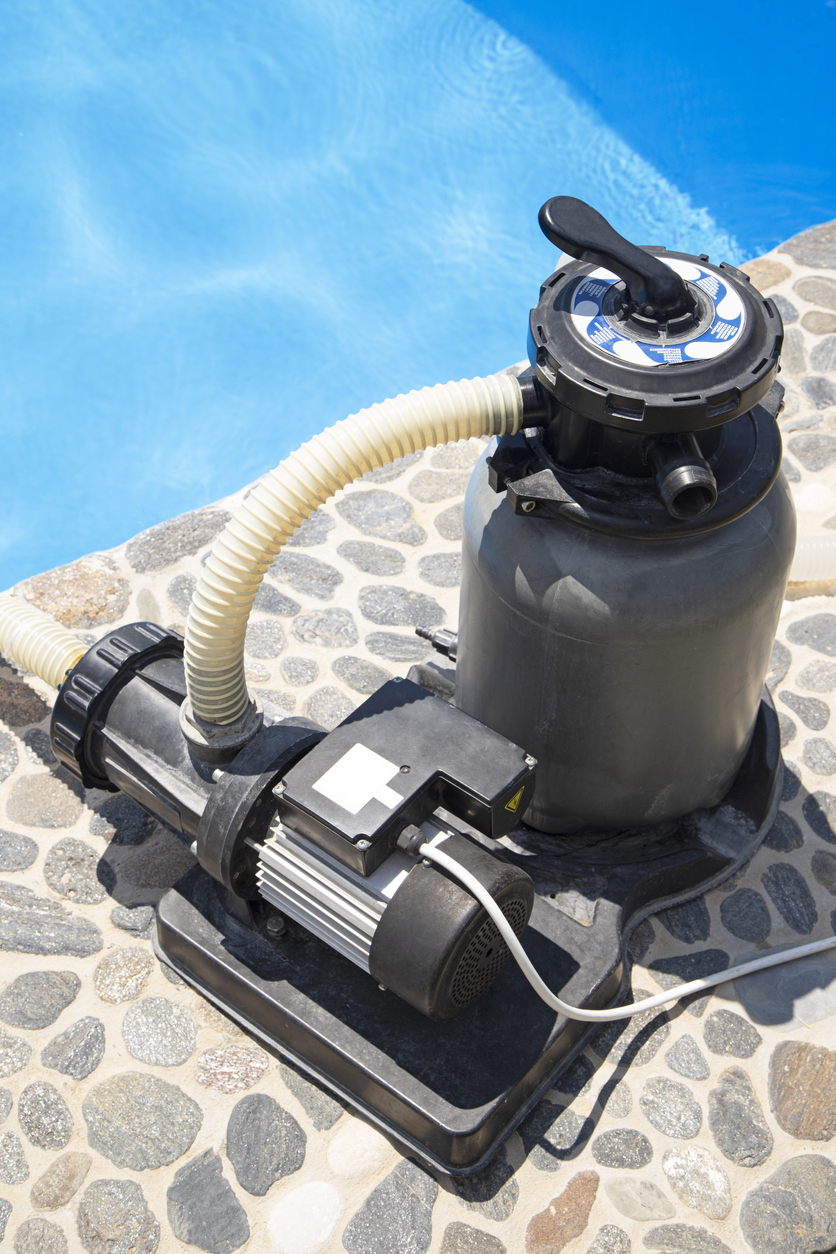
Proper pool filter maintenance is a must to keep your pool water sparkling and clean. One of the most important pieces of equipment to maintain is the filter. There are three basic types of filtration systems – Sand, Cartridge and DE. Whichever system you have, you will need to be sure to clean and care for your filter.
Sand Filters
If the water flow is slowed by dirt and debris, pressure gauges at the filter inlet and outlet give the pool owner an idea of the blockage level inside. If the inlet pipe has more pressure than the outlet pipe, there is collected debris in the sand. You will then need to backwash the filter.
The coarseness of sand traps debris particles and over time, the sand will become smooth and round. This sand should be changed every five (5) to seven (7) years. Contact a pool professional to change the sand or you can choose to do it yourself.
Cartridge Filters
Cartridge filters have more surface area than sand filters. This allows for fewer clogs and much easier maintenance. Cartridge filters also operate at a much lower pressure than sand. This causes less backpressure on the pump so you have a greater flow of water through the system. This system is very easy to maintain and relatively inexpensive. Basic cartridge maintenance can be performed by simply rinsing off your cartridge with a garden hose or soaking them in detergent.
Diatomaceous Earth Filters
Adding new DE is simple. It goes directly into the skimmer and the pump sucks the DE into place preparing it to do its job as more contaminants enter the water. You will be able to tell how much DE the system requires by following manufactures directions. Backwashing and addition of new DE is required once every 3-6 weeks for residential pools.
Maintain A Steady Amount
Water Level
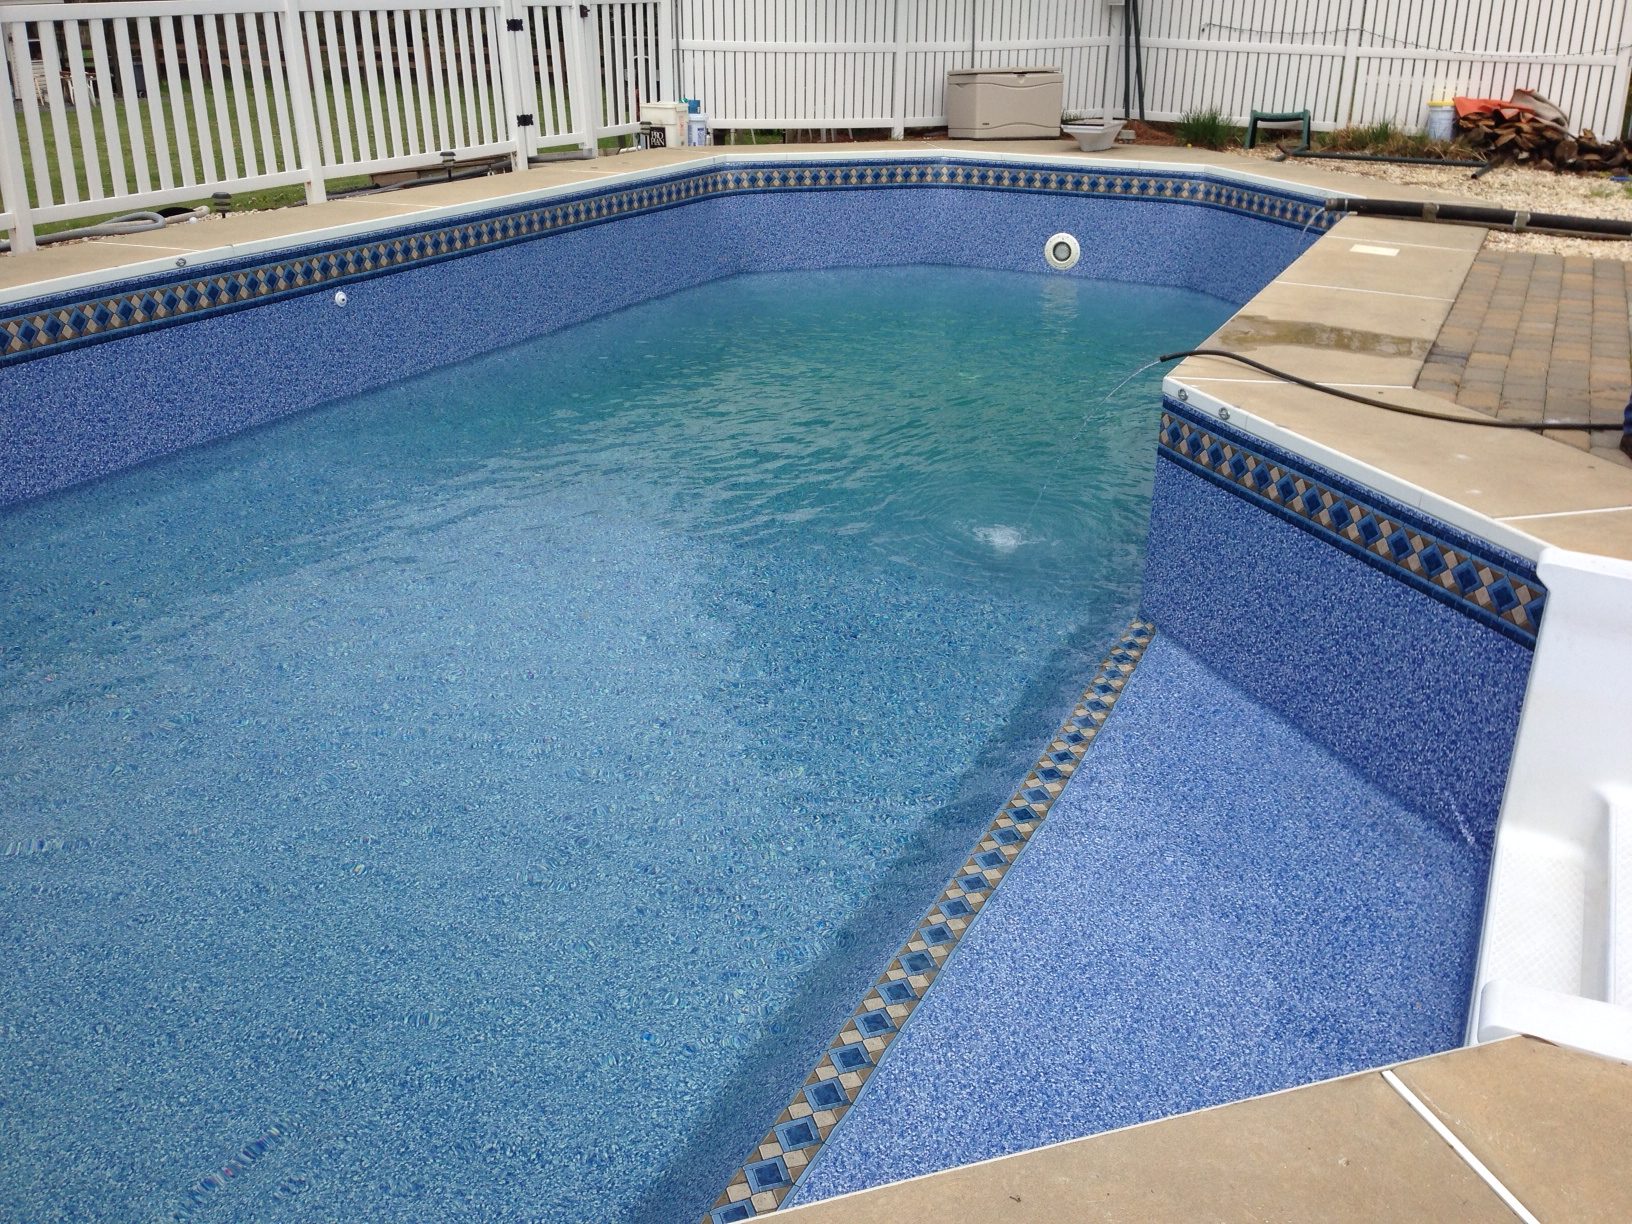
Maintaining a proper swimming pool water level is important when it comes to skimmers to ensure that they are working properly. Since the skimmer helps keep your pool clear from debris by pulling them in before they sink to the bottom, it is best to make sure you have the right amount of water in your swimming pool.
The level at which the swimming pool skimmers operate best is between one third and one half of the way up the opening of the pool skimmer. If the level is too high, the water moving into the skimmer will be going too slow and the debris may pass by the opening without being pulled in. If the pool water is so high that it covers the skimmer opening completely, floating debris can’t get in.
If the water is too low the skimmer can bottom out, thereby sucking air into the system which can result in losing the prime and possibly result in burning up your swim pool filter pump motor. With low water levels, the skimmer won’t be able to properly catch debris and it will make a noise caused by the air flow. This can cause your skimmer’s lifespan to decrease, and you will also need to restart the system.
If your swimming pool filter system requires backwashing, be sure to add water before backwashing and vacuuming the pool because this will lower the water level.
An Important Process
Pool Pump Priming
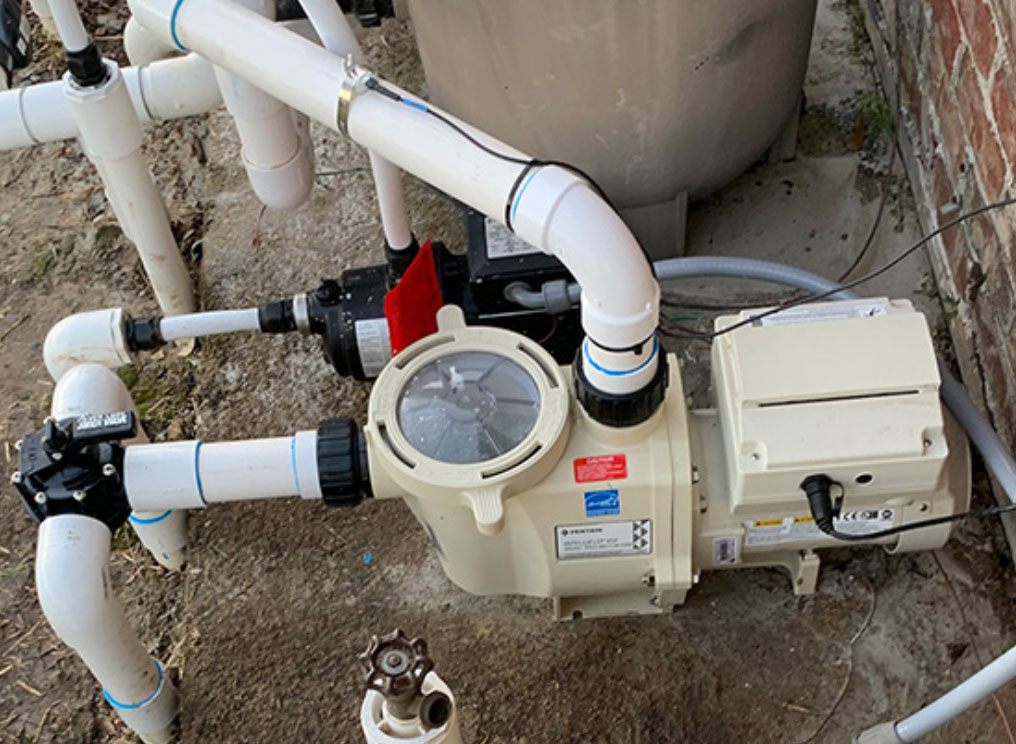
Priming the pool pump is needed in the beginning of the season, or after cleaning the pump basket. Some pumps need to be primed after they sit for a period of time. Older or undersized pumps may struggle with this. Follow the instructions below to prime your pool pump.
Pump Priming Instructions
- Turn off the pump. Make sure heater is off also if you have one.
- Remove the pump lid.
- Take garden hose or bucket and fill pot entirely with water.
- Make sure your pump lid has an o-ring in place, and that it is in good condition and lubricated. DO NOT use petroleum-based products. Replace the lid on the pump pot and secure it, hand tight.
- Turn on the pump and watch to make sure water starts to flow in the pot from the plumbing lines. If water does not start to flow after about a minute, shut off and repeat steps 1 – 5 again. Some pumps are hard to prime, especially if the pool sits downhill from the equipment pad. If there is a shut off valve before the pump, make sure this is in the open position.
- If there are multiple valves in-front of the pump, like “skimmer” and “main drain”, “spa drain” etc. close all but the closest item to the filter system. Priming is the removal of air from the plumbing, so it’s easier to remove air from 1 pipe rather than 2 or 3 pipes. Once primed, then you can sloooowly, open the valves, and allow the pump to sloooowly suck the air from the pipes without allowing it to loose prime. If you do, close all but the 1 valve and start over.
- Once the strainer pot fills completely and the pressure gauge on the filter builds to a normal reading, you have a prime.
- If you cannot get a prime, Make sure there is ample water in the pool.
- Make sure all fittings and unions in front of the pump are tight and not cracked.
- Make sure skimmer baskets are empty.
- Make sure the skimmer weir (flapper) is not stuck in the up position.


Clean Your Filter
Backwashing
Backwashing procedure for DE and Sand FIlters
- Turn pump off.
- Turn multiport valve to backwash position. Push down on the handle to turn.
- Open backwash gate valve or attach backwash hose (if any).
- Turn pump on and run it for 2 minutes. Watch glass globe for water clarity.
- Turn pump off.
- Turn multiport to rinse position.
- Turn pump on and run it for 1 minute.
- Turn pump off.
- REPEAT steps 2 through 7 for 3 cycles.
- Turn multiport valve to filter position.
- Close backwash gate valve (if any) & turn the pump on.
- Add D.E. to the skimmer located closest to pump. Usually 3-5 lbs. Only use 2/3 of what the manufacturer recommends, as not all the DE is cleared from the inside of the filter, and it will accumulate and block the filter.
- Add D.E. to skimmer SLOWLY. Don’t CLOG it.
- Check pool water level after backwashing – add more water if necessary!


